SPICE OPUS, an acronym for SPICE engine for OPtimization UtilitieS, represents a powerful circuit simulation tool. This software is a recompilation of the original Berkeley’s source code, designed to work seamlessly on Windows 95/98/NT and Linux operating systems, supplemented by Georgia Tech Research Institute’s XSPICE mixed-mode simulator.
With SPICE OPUS, you have the capability to perform simulations on a wide range of circuit types, including analog, digital, and mixed-signal configurations. This versatile tool is available for both Windows and Linux platforms, although it does not feature an integrated schematic program for component selection and circuit drawing.
Developed by the Faculty of Electrical Engineering at the University of Ljubljana, Slovenia, SPICE OPUS has gained substantial recognition worldwide, amassing a user base of over 10,000 individuals spanning various domains such as research, education, and industry.
Throughout this article, we will guide you through the straightforward process of installing SPICE OPUS on a Windows environment. Additionally, we’ll delve into the procedure for describing a circuit to simulate, achieved by crafting a .cir file using a standard text editor.
You can download the updated software here
After downloading the program run the Setup.exe
Installation on Windows
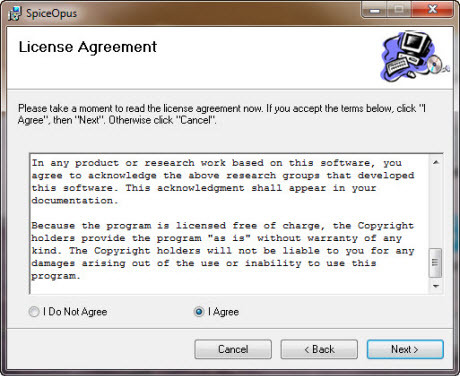
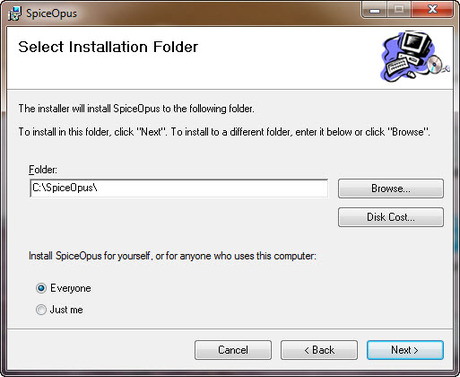
you can change the installation directory by clicking on Browse button, by default it is installed in C:SpiceOpus
when the setup is complete, open the Start menu and go to Control Panel, choose “System and Security” and again “System”, once open this window, click on “Advanced system settings”

the “System Properties” window pops up:

click on “Enviroment Variables…”
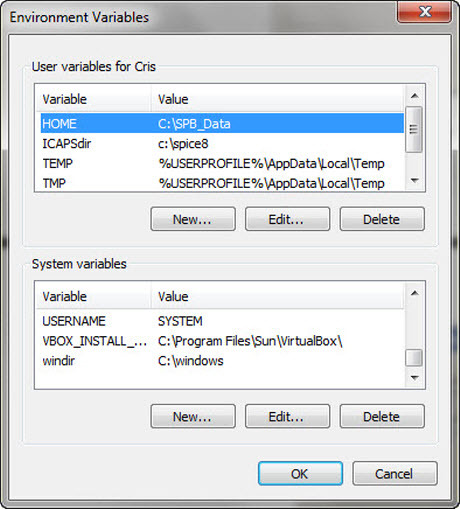
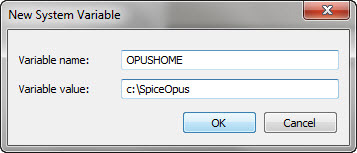
Add a new system variable by clicking on the lower “New” button.
Name the variable OPUSHOME. The specified directory must be the Spice Opus installation directory. Click on OK. Confirm your changes by clicking on OK in the Environment variables dialog and once more in the
System Properties dialog.
Installation on Linux
Become root.
su –
Unpack the .tar.gz archive.
A directory will be created with the name that looks like
spice_opusXXX_linux_DATE_TIME
Enter this directory.
cd spice_opusXXX_linux_DATE_TIME
Start the installation script (spice.install).
./spice_install INSTALL_PREFIX
INSTALL_PREFIX is the tree where Spice Opus will be installed. The recommended location is
/usr/local. The installation script removes any previous Spice Opus installation in that tree and
replaces it with the latest version. The binaries go to INSTALL_PREFIX/bin .
After the installation is finished, you can remove the spice_opusXXX_linux_DATE_TIME
directory that was created by unpacking the .tar.gz archive.
Setting up the environment.
We shall assume that you are using BASH. Add the following two lines to /etc/profile (you
must be root in order to be able to do it).
OPUSHOME=INSTALL_PREFIX
export OPUSHOME
where INSTALL_PREFIX is the tree where you installed Spice Opus.
It is also convenient if you add INSTALL_PREFIX/bin to your path. Add the following two
lines at the end of /etc/profile.
PATH=$PATH:$OPUSHOME/bin
export PATH
Log out and log in again for the changes to take effect.


