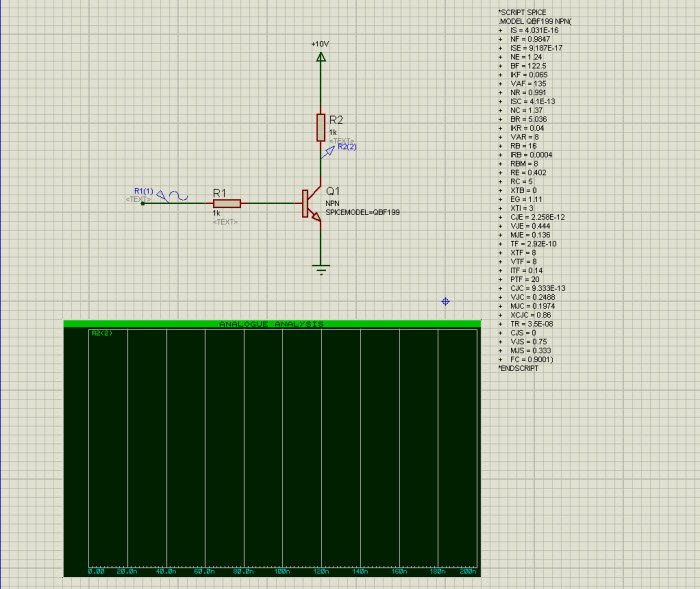
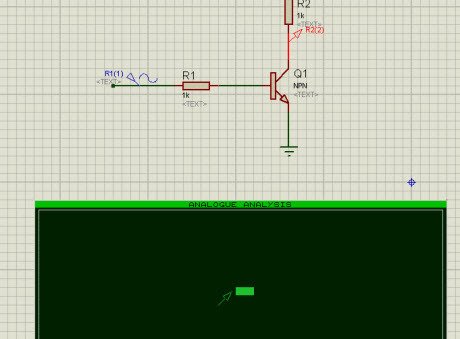
Select the Voltage probe and place it on the transistor collector

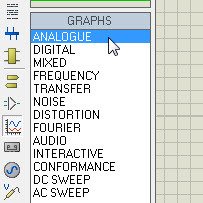
Click the “Graph Mode” button and choose “ANALOGUE” to conduct a transient analysis later. Resize the graph window to fit within the layout.

drag the voltage prob inside the window
Now, let’s establish the connection between the NPN device symbol and the SPICE script: Right-click on the symbol and choose “Edit Properties.” This action will open the “Edit Component” window. In the “Simulator Primitive Type” field, input “ANALOGUE,NPN,” and within the “Other Properties” text editor, enter “SPICEMODEL=QBF199.”
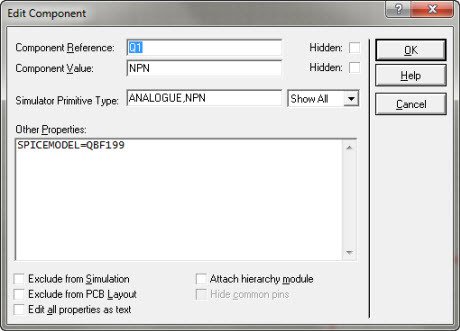
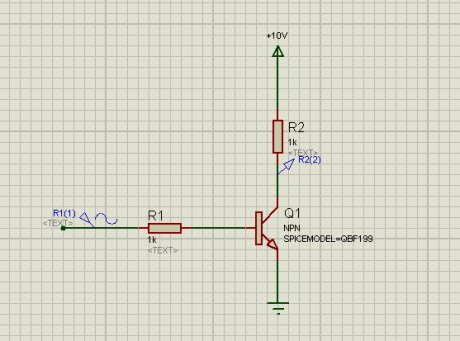
Click on “Ok” to close the window, the NPN symbol is now linked to the script
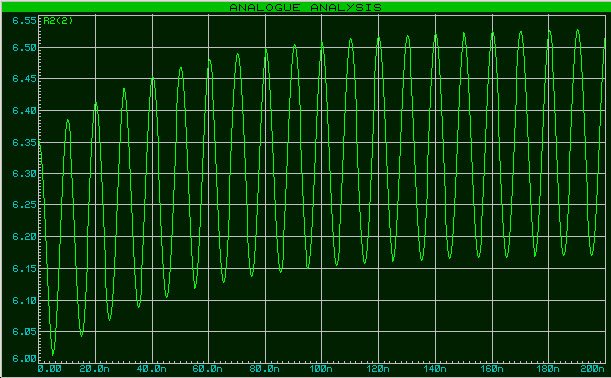
Right click on the graph window, select “Edit Properties” and set a stop time to 200n (nanoseconds)

press space to perform a transient analysis