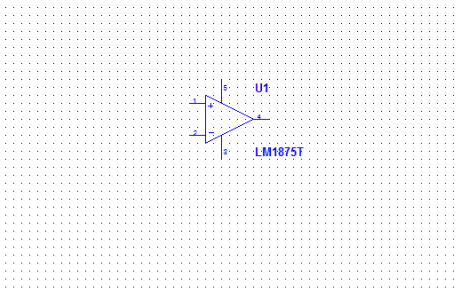
Hover the mouse over the schematic and left-click once to place the component.
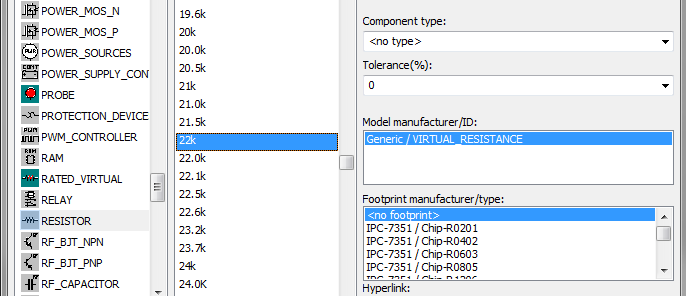
Next, proceed to place the resistors. Select the ‘Basic’ group and the ‘Resistor’ family. Here, you’ll discover a range of standard commercial values. You can also specify the resistor type and its tolerance as needed.
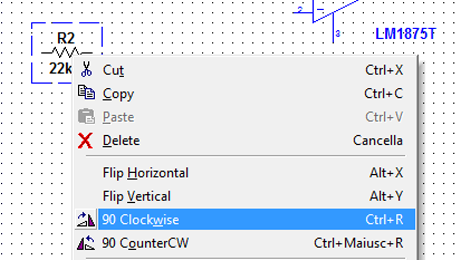
After placing the component, right-click and choose ’90 Clockwise’ for rotation. Alternatively, you can rotate it before placement by using the <Ctrl-R> shortcut on the keyboard
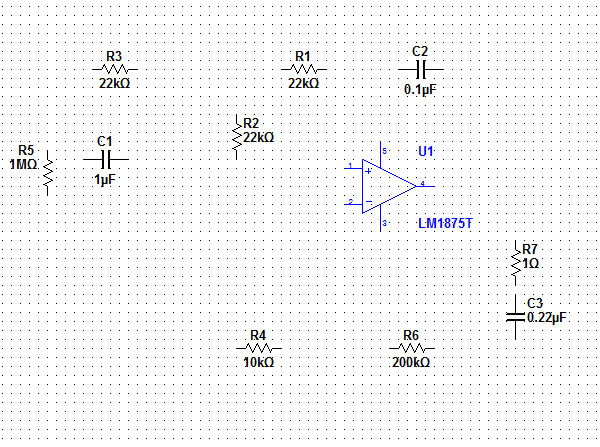
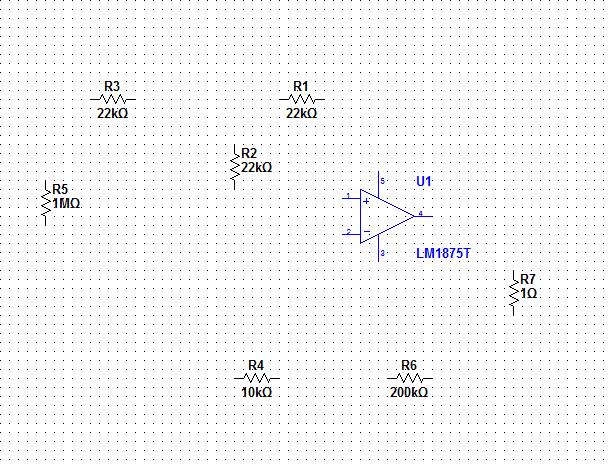
Repeat these procedures for all the resistors, and the schematic will resemble the following:
Now select non electrolitic capacitors
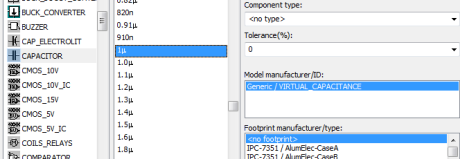
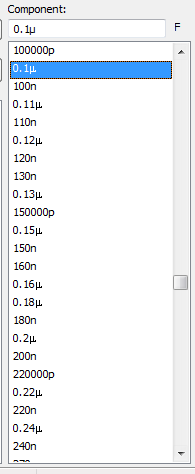
Once again, you have the option to select from commercial values, specifying the type and tolerance
At this point, the schematic will appear as shown: